The Essential Photographer's Guide to Depth of Field

The term 'depth of field' is quite common, and you must have heard about several times but we are going to talk about depth of field in more detail. Understanding the fundamentals is not enough in such cases as you should know the way to make the most use of it for better results.
Let us understand DoF in more detail so that you would learn to make the most out of this feature. Before we discuss anything, get started with the basic definition first.
What is the depth of field?
Every photo has a subject that is in focus and that is why it appears sharp. If you take a closer look, you will find that some portion in the back, as well as, the foreground is also in focus and appears sharp. So, all the area that appears sharp in the photo is referred to as the depth of field.
Though the area appearing sharp in the photo differs in different photos based on the factors like aperture and distance of the subject from the camera. So, the photographer is free to play with the camera settings in order to determine the depth of field in the image. Let us get you to the other level of knowledge in this discussion.
The importance of depth of field in photography
You can never proceed with any process or technique without knowing anything about its importance. If you take a look at a photo and visualise its components, you will find that the area in focus is the main artistic component.
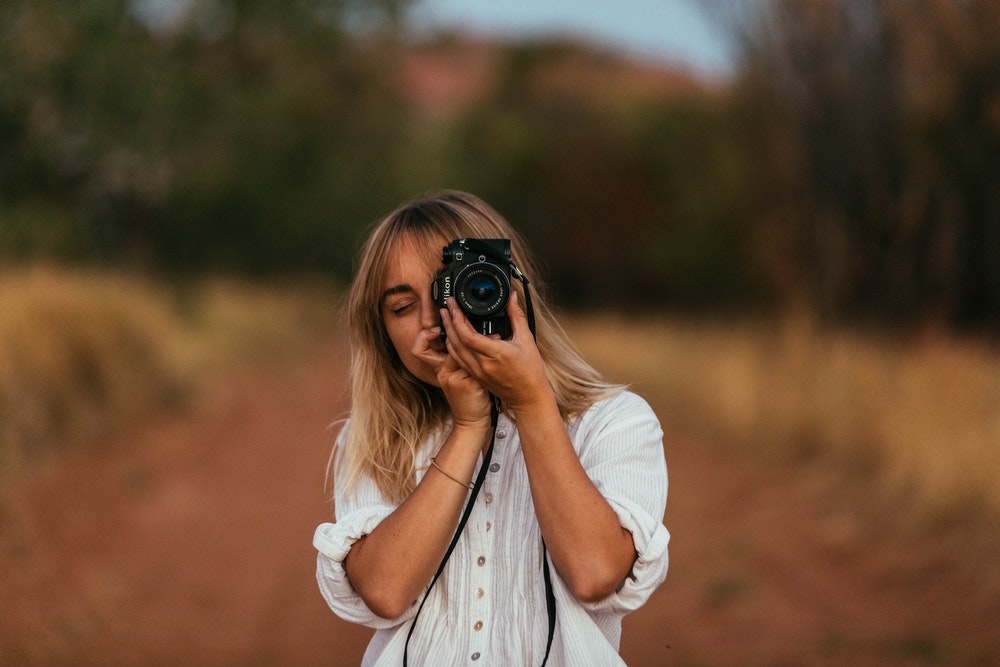
The depth of field needs to be in accordance with the subject you have chosen. If you are taking a portrait photo of the subject where the background may ruin the whole photo, failing to get a shallow depth of field will never let you get a stunning photo.
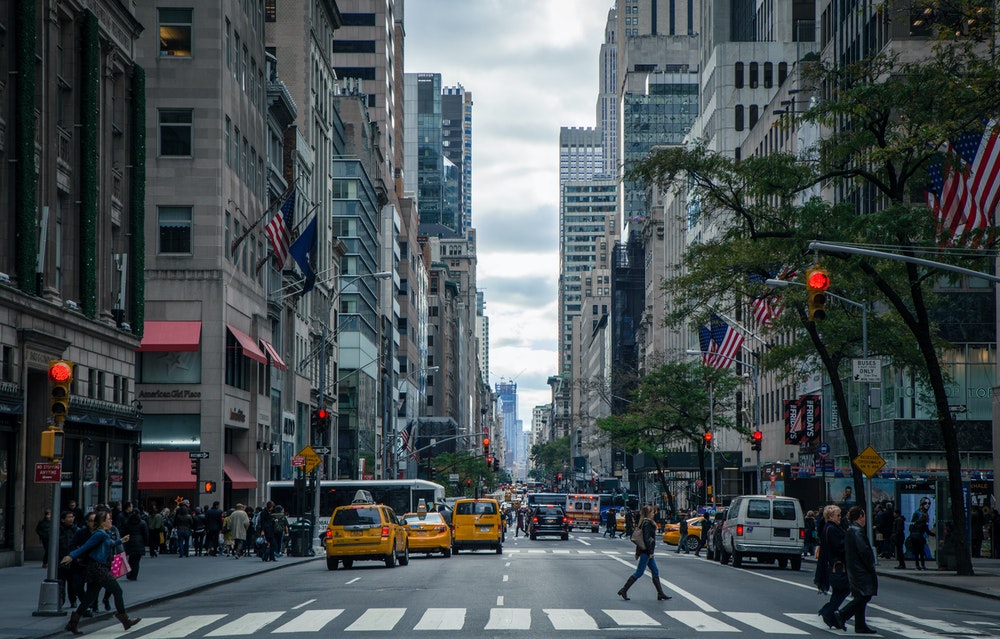
On the other hand, when you photograph a landscape where foreground, mid-ground, and background are equally important, you must use a deep depth of field for getting better photos.
In fact, the magnificence of the entire scene will never be visible without a deep depth of field. The extent of an image's ability to grab viewers’ attention is decided by the depth of field.

Essential factors that affect the depth of field
Three main factors affect the depth of field in a photograph. Let us have a look at them in detail.
Aperture
If you don't know, the aperture is the hole in the lens through which light enters the lens and reaches the sensor. There is a very simple yet effective relation between aperture value and depth of field. A bigger aperture leads to a shallow depth of field and vice versa.
One thing you should consider in this case is the convention for aperture values. Aperture is denoted in terms of f-stops or f-numbers. Lesser f numbers respond to larger apertures and vice versa. This knowledge will help you avoid confusion. So, you can use small aperture values for shallow depth.
Distance of the subject from the lens
When the subject is closer to the lens, you have the chance to create a shallow depth of field. Whenever the subject gets close to the lens, the depth of field shrinks.
On the contrary, when you step back to increase the distance between you and the subject, the depth of field will increase. This rule will work the same way irrespective of the value of your aperture.
Focal length
Longer focal lengths lead to a shallow depth of field and short focal length will always give you deeper DoF.
Few examples to demonstrate the difference between the shallow and deep depth of field
Deep depth of field is very important in photos where you have to keep everything falling in the frame under focus. This is very useful when you are shooting a picture of a landscape and other such things. In that case, everything right from the foreground to the mid-ground and background will appear sharp in the photo.
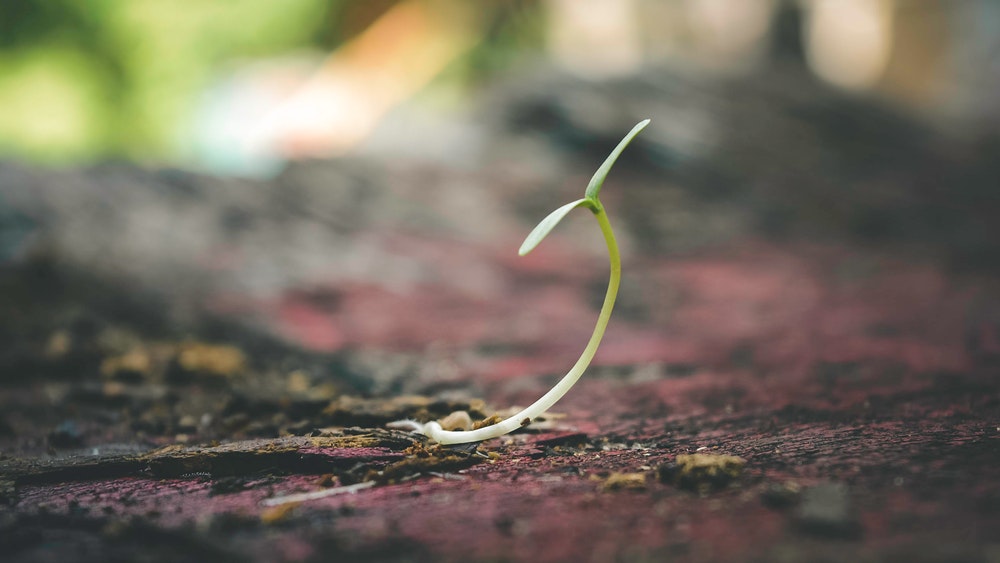
On the other hand, some types of photography require a shallow depth of field to draw the viewers' attention towards it. Most popularly, this one is used in portrait and macro photography.
In this case, every distraction from the background is converted into a smooth creamy blur. It is used in landscape photography as well when the focus is on an object.

The right use of shallow depth of field
Any time when you want to make your subject appear exotic and out of your background, you should definitely go for a shallow depth of field. It is used very often in portrait photography where you want every detail of the subject to be clearly visible.
You can use it in wildlife or landscape photography as well if you want to focus on an animal or a plant. Macro photography is a field where this effect is widely used for focusing on the details of a flower, insect, or other smaller objects.
Remember this effect is achieved with the help of a wider aperture which in turn increases the shutter speed. That is why when you are shooting photos with this idea in mind, there are two major benefits.
First, you will be able to shoot in even low light conditions because of the wider aperture. Second, you can capture every moment precisely with increased shutter speed.
Photographers! Earn a $200 Sign up Bonus... |
|---|
Interested? Sign-up here(more details) |
The final tip
As we have already mentioned the major contributing factors for creating the desired depth of field i.e. distance of your subject from the lens, aperture, and focal length. Every difference that you manage to create is a different composition of these three.
The way these factors combine together to give you the best depth of field, can be used in a different way to cancel each other and reduce this effect. It is all up to you which way you like.
One thing that you have to keep in your mind is you will never be able to learn if you don't practice. So, there is nothing to wait for, just grab your camera, go outside and start shooting photos.
About the Author
Emma Taylor is an Australian blogger and photographer, who lives in Melbourne with her two cats, where she frequents live theatre and wine bars.


