Landscape Photography Tips and Tricks for Stunning Photos

People living in a natural environment think it's very easy to take landscape photos. Most of them think a landscape photo is all about taking out the camera and capture one. But it takes a lot more if you want a great landscape picture.
The quick habit of capturing a random photo doesn't work for those who approach perfection.
If you are one of those enthusiasts, there are some things that you need to learn before getting started. Take a look at these landscape photography tips for better shots.
Mid-range aperture works best
You must get a clear and exceptionally sharp image if you are interested in landscape photography. The most important thing to do for achieving sharpness in the image is by adjusting the exposure settings.
You can start by focusing on the aperture settings first. Find the lowest possible f-stop on your camera. Now you have to select the f-number at least 2 or 3 units higher than that.
In the majority of cases, f/8 may fit as the best. Any f number that belongs to either of the extreme ends may reduce the clarity of the picture. You might need to think otherwise if there is an item in the mid, back or foreground of the frame.
When the object is in the background, you should focus on depth of field. F/16 or f/11 will work the best in this case.
If the situation requires you to blur the objects in the foreground, the aperture should not be f/16 or f/11. In such a case, a lower aperture would be suitable. In order to shoot the best photos of this category, you must go with f/2.8. Such an aperture setting will help create a nice shallow depth of field.
Prefer lower ISO in most cases
Always try to keep the aperture at the lowest possible level. If you find low aperture is not working for you, try to adjust shutter speed and ISO for compensating for the low aperture. In most cases, low ISO can make the image look grainy. The best range of ISO is 100-400 in this case.
Photography is all about being conscious and precise. You should always be ready to change the laws that you have made before going for the photo shoot. Despite the shutter speed and aperture settings if low ISO is ruining your photo, don't hesitate to raise your ISO. Taking a lesson on exposure will be of great help to you.
Shoot the photo at the perfect time
When it comes to landscape photography tips, there is a particular time period when you shoot. Most photographers follow this rule. It becomes really important as you can't do much with artificial lights while you are outdoors.
Then, natural light is the only help that you can get. The best time to shoot is just after sunrise or a few moments before sunset. This time period is also called the magic hours.
Whenever you plan to take landscape photos, you should get out during these time periods. The balance of light is perfect as it diffuses all over the sky. Apart from it, you will also be able to get long and pleasant shadows that would create depth in the photo. Photos of the sun on the horizon are always considered one of the best.
You can take photos right in the afternoon as well but use the camera settings and other accessories to soften the light.

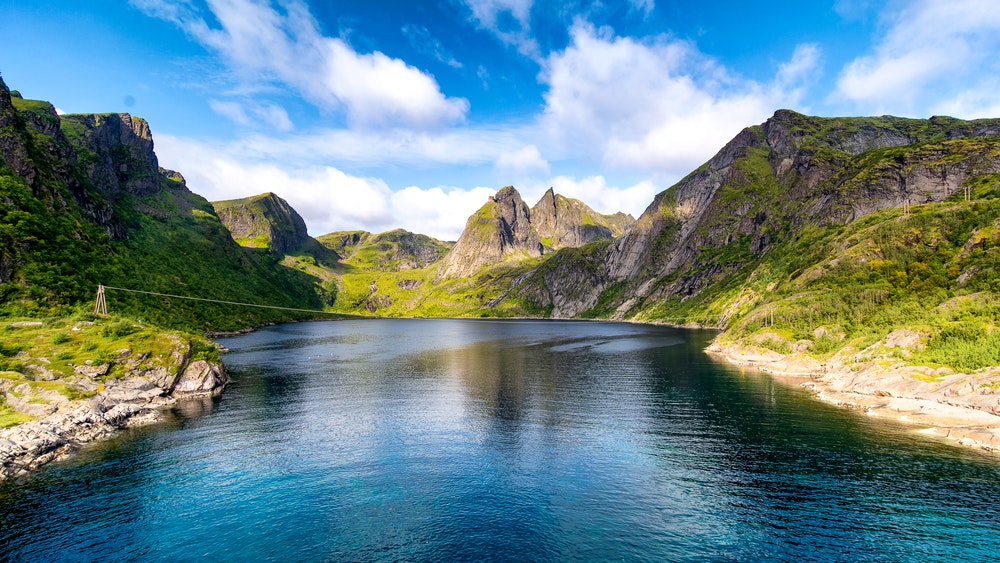
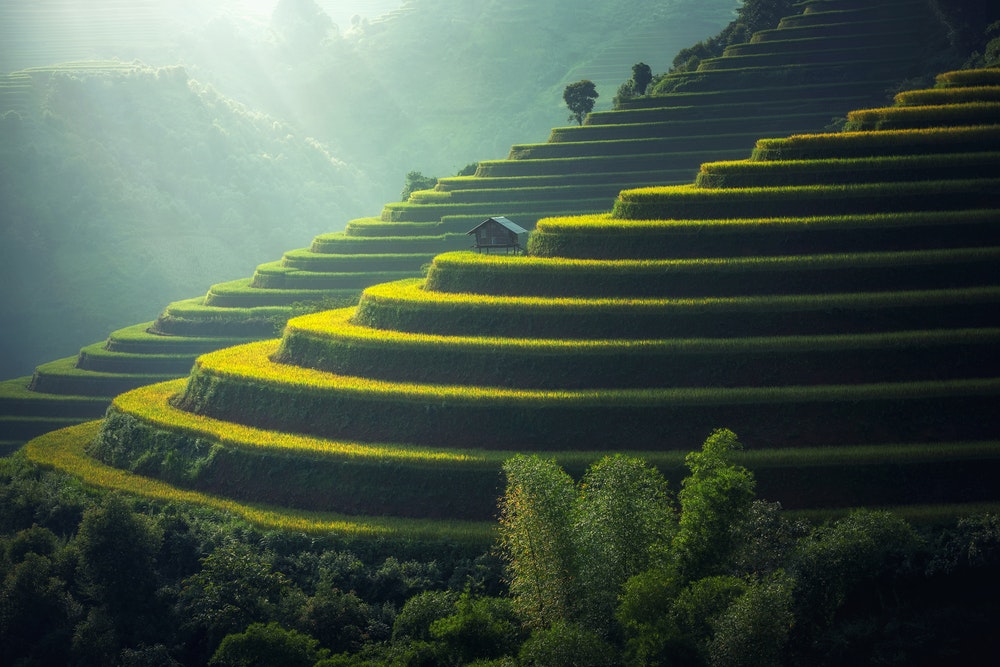
Using angled leading lines in landscape photography
Compose the photo in a better way
We travel across a lot of places and never notice something special. Photos of even normal places may seem like heaven if shot properly. Here, we are going to mention some rules you should care about in this process.
Keep on changing your point of view
Shooting the photo from the same angle will look the same in most cases no matter how much editing you do. But you can make a significant difference by choosing another angle. Some easy steps like lying down on the ground or getting a bit higher will give you a slightly different perception.
Rule of thirds works all the time
You must be familiar with the rule of thirds. In landscape photography, you can produce visually appealing as well as balanced photos. The majority of cameras display these lines in the viewfinder or on the LCD display. While using this rule, try to keep the subjects along a line or at the intersection points.
Use the leading lines properly
This is one of the best landscape photography tips to help you create quite an extraordinary photo. Look at the landscape and try to use trees, cliffs, or mountains as a drawing line. Though it may take a bit of time to be familiar with it but it is a skill worth learning.
These lines act as a guide for the viewer. It feels like the lines teach the viewers to look through the photo in specific order. That is what we call enjoying a photo.

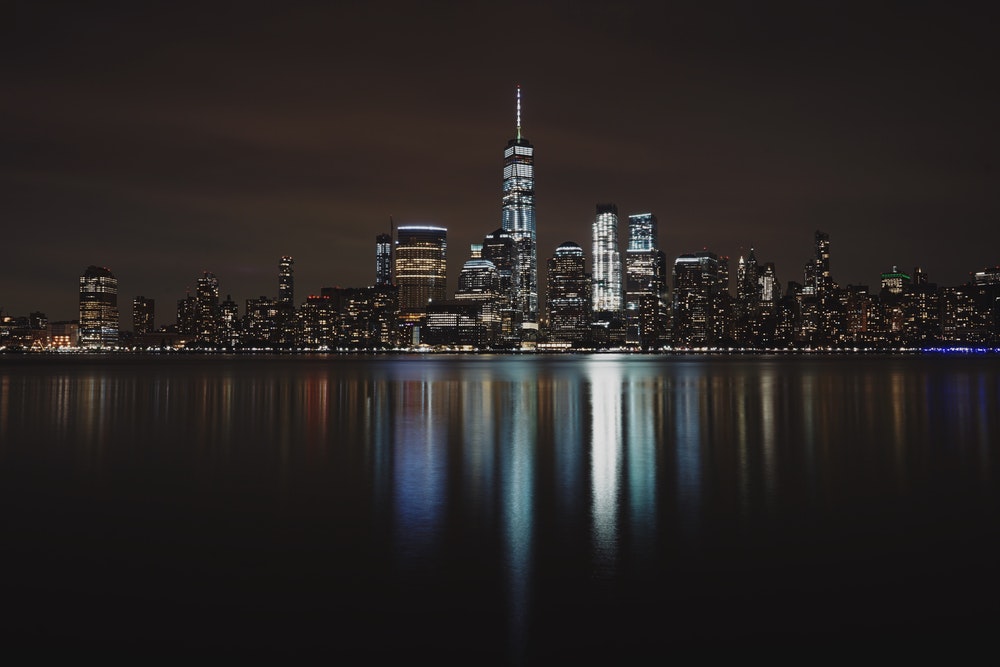
A cityscape at night is still landscape photography.
Make use of polarising filters
A polarising filter is a very common accessory used by landscape photographers. In most cases, they use it to enhance the colour and contrast and minimise glare in the photo. If you are planning to shoot a landscape image that has a lot of colours, sky, water, and other reflections, never do it without a polarising filter.
A polarising filter works in both ways. On one hand, it makes the sky more blue and vibrant while on the other it reduces the reflection from the water. Almost all the modern filters have the ability for enabling the photographer in adjusting the amount of polarising.
Photographers! Earn a $200 Sign up Bonus... |
|---|
Interested? Sign-up here(more details) |
Final thoughts
Landscape photos are one of the most interesting and fascinating photos. We hope you must have got some precious landscape photography tips. Make sure to research the location before the final shootout.
And the best way here is to scout the site before shooting the final photos. Visit the same location multiple times to see it under different light intensities.
About the Author
Andrew Conway is an amateur photographer and keen writer. Andrew is in his last year of his Journalism degree in University.


