

Clever Macro Photography Tips and Tricks
Among the popular photographic styles, there are a large number of photographers who are interested in macro photography. Thanks to modern cameras and advanced lenses that a lot of photographers are finding it suitable. But it is also a field where lot beginners struggle to take good shots.
We are trying to help all such people with the help of this article. Here, we will mention several macro photography tips. Let us have a look at them and see which one works for you the best.
Be careful about choosing the subject
You will never get good photos if you don’t have the right subject despite having the best gear. And if you think everything looks great in the macro mode, you are wrong. When you start shooting the photos of such things, you will find that most of those photos are non-perceivable when viewed from close. No matter whether you will get the right shot from that or not but you will learn a lot about choosing the right subject.
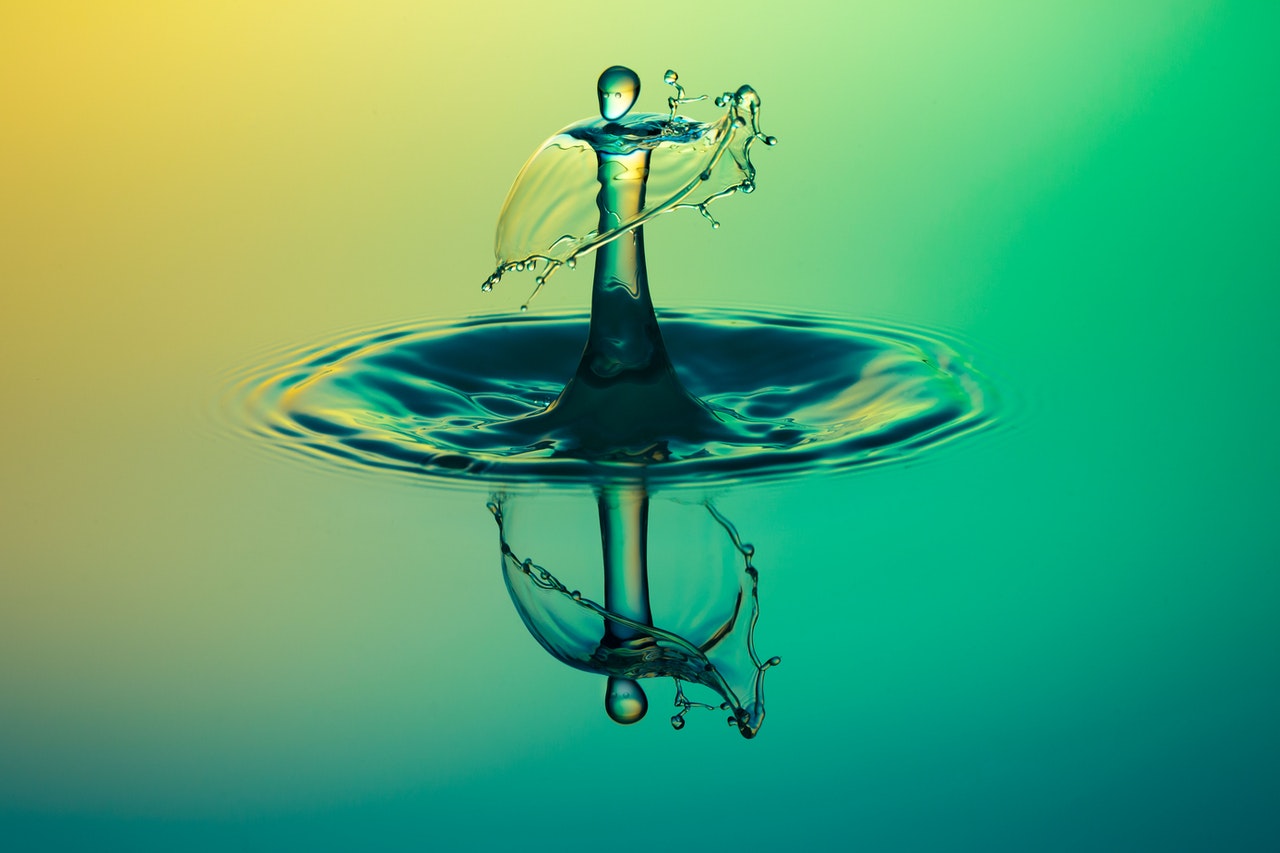
If you are an absolute beginner, starting with small insects, raindrops, water drops, jewellery, other household items would be a great idea. And the biggest challenge that you will face is during shooting the photos of insects. In that case, you should maintain a proper distance so that you avoid scaring them off.
Choose the right lens
This is the first and most important among the macro photography tips to consider here. Though the majority of cameras offer macro photography mode but that is not enough in all cases. You can never get 1:1 magnification with that in-built mode. For such a magnification, you have to buy a macro lens. There are plenty of macro lenses available in the market and that is the root of all confusion.
If you want to shoot objects with more flat surfaces, you should use a flat-field macro lens. These lenses will provide you the best edge-to-edge sharpness. Most macro lenses are very expensive but that investment is worth making if you want good quality photos.
Choosing the right lens depends a lot on the type of subject that you have chosen. Usually, going for the macro lenses having longer focal length are the best options. When you choose a lens of that kind, you can digitally move very close to the object. This facility helps you in getting the perfect shot you don’t disturb the subject and the environment.
Be ready to use the assistive accessories
Having a macro lens is not enough to get the best photo. There are a lot of assistive tools in the market. In this section, we are going to talk about those accessories. All of these accessories can be very easily incorporated into the macro kit.
You can use Bellows or tubes as they are very helpful in producing some ultra-tight close-ups. Lens adapters are also very helpful in using the same lens of your camera for different purposes.

Clever macro photography of a fly
Use customised backgrounds
If you are a beginner, you will find that your photos don’t look that cool as the ones on the internet. There is a reason for that and it is the background. The background of a photograph impacts the photo equally as the subject. When you are shooting macro photos, the background becomes even more important.
In macro photography, the same subject looks different in different backgrounds. While choosing the background, make sure that the colour and composition of the subject don’t collide with that of the background. Always put your subject against a contrasting background. In that case, the subject is more visible and appealing. Such photographs offer the best background blur.
It may be a bit challenging when you are shooting macro photos outdoors. You will not have much control over the background in that case. But you are free to adjust the background by changing the perspective.
Depth of field plays a very important role
Depth of field is one of the most crucial things in photography. But when it comes to macro photography, depth of field plays an even more important role. You can do it using the smaller apertures. Small apertures are very helpful in increasing the depth of field. But there are several complications involved in deciding the depth of field in macro photography.
Small apertures are recommended very much for this purpose. But when the aperture is too small, you can’t get sharp photos. In such a case, the depth of field is less and as a result of that, some of your subject will be blurred. This is not a good thing especially in the case of macro photography.
If you decrease the magnification and then use a small aperture, you will get some nice sharp photos. And after that, you can crop the image to get the desired aperture. But these macro photography tips is only for those who don’t mind cropping the photo.
And many cameras of this age come with a feature called focus stacking. You can use it to balance the depth of field and sharpness of the subject.
Always try to create good lighting
Light plays the most important role in photography. Most of the things and technology that we use in photography are to get the light in proper balance. And when it comes to macro photography, it becomes even more important.
You should enhance the lighting situation not only to get better photos but also to support the exposure settings of your camera.
The best lighting equipment that you can use for this purpose is ring flash and twin flashes. Both these lights are suitable for creating three-dimensional lighting around the object.
Photographers! Earn a $200 Sign up Bonus... |
|---|
Interested? Sign-up here(more details) |
Final words
There are several macro photography tips that we have mentioned in this photograph. But choosing the right tip is not so easy task and these are not the only tips available for this purpose. You have to keep on experimenting with different ideas and learn.