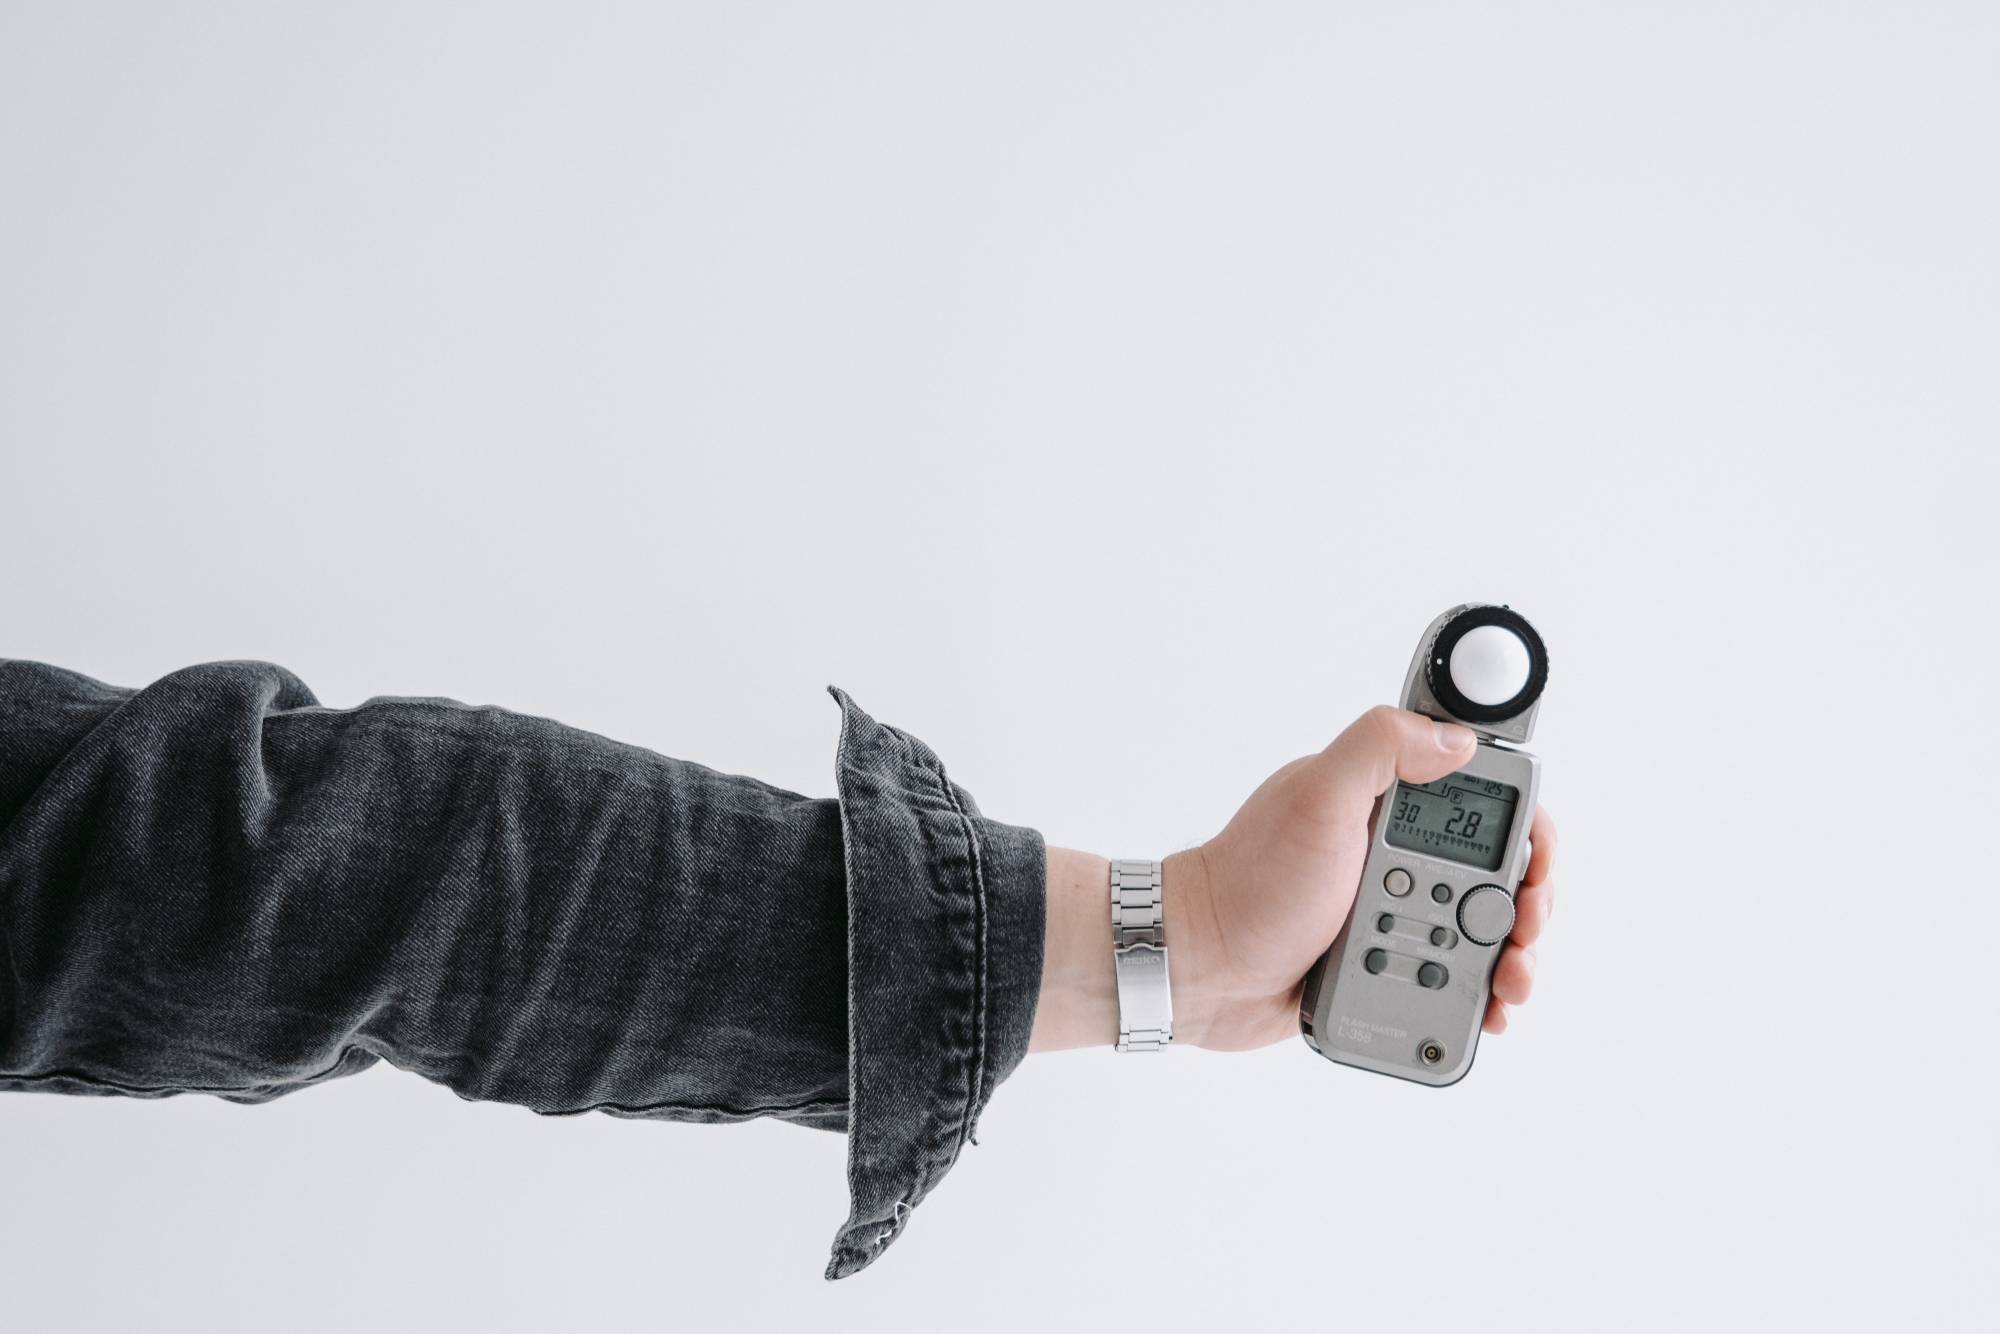
How To Use A Light Meter In Photography

Knowing about exposure and other things is really important before you start shooting photos. The right exposure can either make or break your efforts in this process.
When we talk about using a light meter in this process, several photographers insist on going with a built-in light meter for their cameras. But there are some reasons behind our suggestion for using an external light meter in this process.
Reasons for you to use a light meter in photography
There are several reasons that make a light meter necessity for photographers. Before we start talking about the right way to use it, let us discuss its importance first. Light meters are very useful in telling you about the amount of light that falls on the subject.
The basic difference lies in the way a built-in and handheld lightmeter works. The built-in light meters take the reading of light entering the camera after reflecting from the subject. You should know that not all the light that falls on the subject will get into the lens because a significant portion of that light will scatter in different directions. This is the main reason why you will not get accurate results in this case.
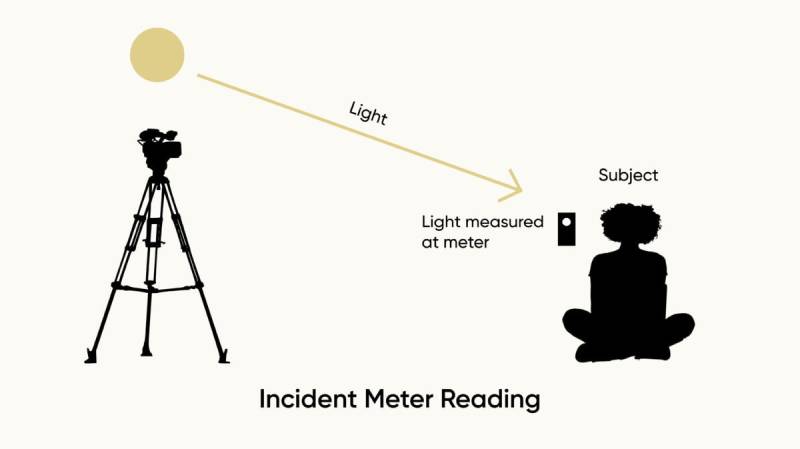
On the other hand, the external light meter takes the reading of light falling on the subject. Here, you will get an idea about the total amount of light that falls on the subject. Using an in-built light meter is like measuring the amount of water by spilling it on a surface that may absorb water.
Such a trick will not account for the water that has been absorbed. In the same way, an in-built light meter has no ability to read the amount of light that has been scattered randomly. Here is an even more interesting way to look at the way these meters give you different results.
A little about middle grey
Professional cameras are programmed in a way that they try to maintain the exposure of images based on middle grey. In other words, the camera maintains a tonality of 18% grey in the images you shoot.
Tonality is defined as the overall appearance of the image based on the availability of different tones in the image and the gradation between those tones. This feature plays a vital role in deciding the exposure of images.
When the subject is extremely white, the light reflected from the subject is way more than 18%. In this case, the in-built light meter will know that the image is underexposed. Suppose you replace the subject with something of pure black colour. In this case, the light meter will tell the camera that the image is overexposed.
The readings differ in both these cases though the availability of light is the same in both cases. In reality, the reading should not differ. Anyone can easily eliminate this discrepancy by opting to use a hand-held light meter.

Light metering illustration (Source)
The right way to use it
Learning the right way to use any equipment is the key. Lack of knowledge will devoid you of better results despite having the right equipment on your side.
Take a look at these precise steps if you want to use a light meter in photography.
Match the ISO
The first step is to set the ISO on your light meter the same as on your camera. Inaccuracy in this case will lead to inappropriate results. Then you have to keep an eye on the light source.
Depending on the intensity of light coming from the source, you can set the light meter to either daylight or flash mode.
Start taking the reading from it
All you have to do here is point the meter right in front of your subject toward the source of light. Now you have to press the metering button.
In some cases, there are multiple light sources, take individual readings by pointing the meter toward each source and pressing the metering button. If you have planned to use an external flash, trigger flash by pointing the light meter towards the flash.
Set the reading inside your camera
First, you have to make sure the camera is set to manual mode. Since you are done with the reading, it is time to set the reading into the exposure settings of the camera. Some photographers want to take specific readings with different apertures, etc.
In that case, you have to enter the desired parameter into the light meter before taking the light reading. Getting the desired results is easy if you know what you have entered.
Want to earn money from your hobby?Sign up free as a Stockphoto.com contributor today!
|
Major benefits you get when you use a light meter in photography
Getting an accurate reading is not all the benefits that you get here. This section will list a few of the benefits that you get from using a light meter.
Streamlines the teamwork
When you are working on some big project where multiple specialists are working together. In that case, you have to explain things clearly to each one of them and you need to do that in time. A light meter gives you the exact numbers to ensure proper exposure to the image.
With these numbers, it becomes significantly easy for you to bring the whole team under the same roof. Having a proper idea about these helps them to choose the right gear and make other arrangements easily beforehand.
When you have got such a means of measuring the light incident on the subject, you don’t have to waste even a single second in guessing the right settings and arrangements.
Photographers! Earn a $200 Sign up Bonus... |
|---|
Interested? Sign-up here(more details) |
Final words
The use of a light meter in photography is a must if you want to get the best results conveniently. It is the perfect combination of skills and information that enables photographers to take the best shots.
With light playing such a significant role, you must know about the proper quantity of light that would make the best photo.
About the Author
Emma Taylor is an Australian blogger and photographer, who lives in Melbourne with her two cats, where she frequents live theatre and wine bars.


