A Guide to Colour Grading in Photography

Taking the shot is just one step in the process. Turning that image that you have captured into a work of art is something else. One of the most creative methods to make that photograph become 'next level' is through colour grading.
In this article, we are going to talk about colour grading, why it is different to colour correction, and how you can lean on the experts by using colour grading presets as well.
If you are a beginner photographer and you think that your photography is over, as soon as you have taken the photo, you are wrong. There are a lot of essential post production steps that you have to perform before it's over. Colour grading is one such essential thing to do in this field.
Most people complain that the photos that they shoot don’t seem natural as they see with their bare eyes. Such perfection can be achieved with the help of colour grading. For all those who wonder about what is colour grading, this article is going to help them a lot.
What is colour grading?
Before going into further details, knowing about the colour grading, in brief, would be a great idea. Almost all the raw photos seem a little bit unappealing to most people. And this is not an assumption, it’s the truth. The real warmth and other creative features come into a photograph only after colour grading the photo.
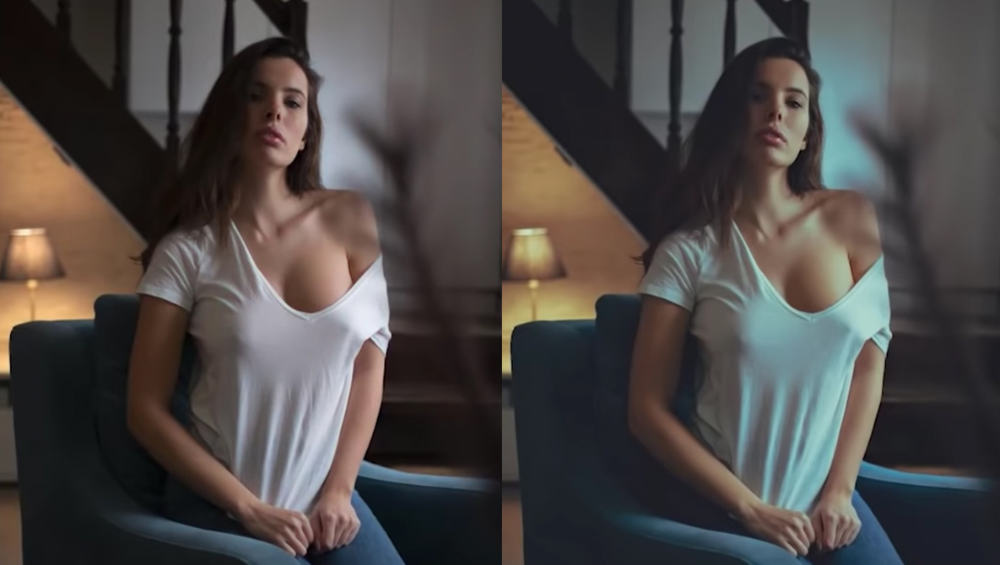
Colour grading helps the photographer to modify some essential features like saturation, and contrast of the image. With the help of proper colour grading, you can make a lot of positive changes in your photograph. You can add blue hues to make the photo appear a little colder while you can add orange colour to make it warmer.
In the later sections of this article, we are going to talk about how you can use the technique of colour grading for the best results.
After you have got the answer to what is colour grading and you want to try it, you should go for some software that does this job. Adobe Photoshop and Adobe Lightroom are the biggest names in this category.
And those who are engaged in mobile photography should go for VSCO, Afterlight, and Snapseed.

Image: Nemanja Sekulic
Getting started
There are various things that you need to care about here. The first step towards a better colour grading skill is colour correcting. Several amateur photographers think that colour correcting and colour grading are the same things however they are not.
Colour correcting is the process to make the photos feel more natural and accurate by adjusting the colours. In most cases, the camera fails to capture the hue of a natural scene, and colour correction can be used as a means there.
Suppose you have taken a photograph of a sunflower and the photo is not up to the mark. You can use the process of colour correction to give the photo a natural taste.
However, in the case of colour grading, you are not concerned much about the natural taste rather you work for making the photo unique through retouching and more.
For better results, it is always advisable to do colour correction before you start colour grading.
Adjusting the gear
If you think that colour grading can make any photo look stunning, you are wrong. First, you need to have the proper gear and use it in a proper manner to get the best results. Once you succeed in getting the right photo, you can apply colour grading to get the best results.
Before making any other changes, you should change the format in your camera from JPEG to RAW. RAW format is the most suitable one for editing. Using the RAW mode gives you several advantages.
While using the RAW mode, you can change the white balance of the photograph later with the help of Adobe Photoshop or anything like that. You can’t enjoy this privilege by using other modes of photography.
After that, go for setting the proper white balance in your camera. White balance plays quite an important role in photography. There are several options to choose from like Daylight, Auto, Custom, incandescent, etc.
Colour grading your photos
Now we have come to the most significant portion of this article. Here, we are going to talk about the ways you can colour grade your photos. There are two ways you can do it with presets and without presets.
While doing it manually, we are going to talk about some points that you should consider. Exposure settings are the first thing to explore here. With little bit of changes in the exposure, you can get significant results while colour grading your photos.
By modifying the vibrance levels, you can make even more vivid changes in the photograph. Then, there is another feature called the Tone Curve. Several features of your photograph like the highlight, light, shadows can be controlled using this feature.
The HSL (Hue, Saturation, and Luminance) is another great feature that you can use to enhance the quality of your photo.
With the help of histogram, you can keep track of whether you have overrun the adjustments. So, keep an eye on the histogram as it will help you avoid over-adjustments.

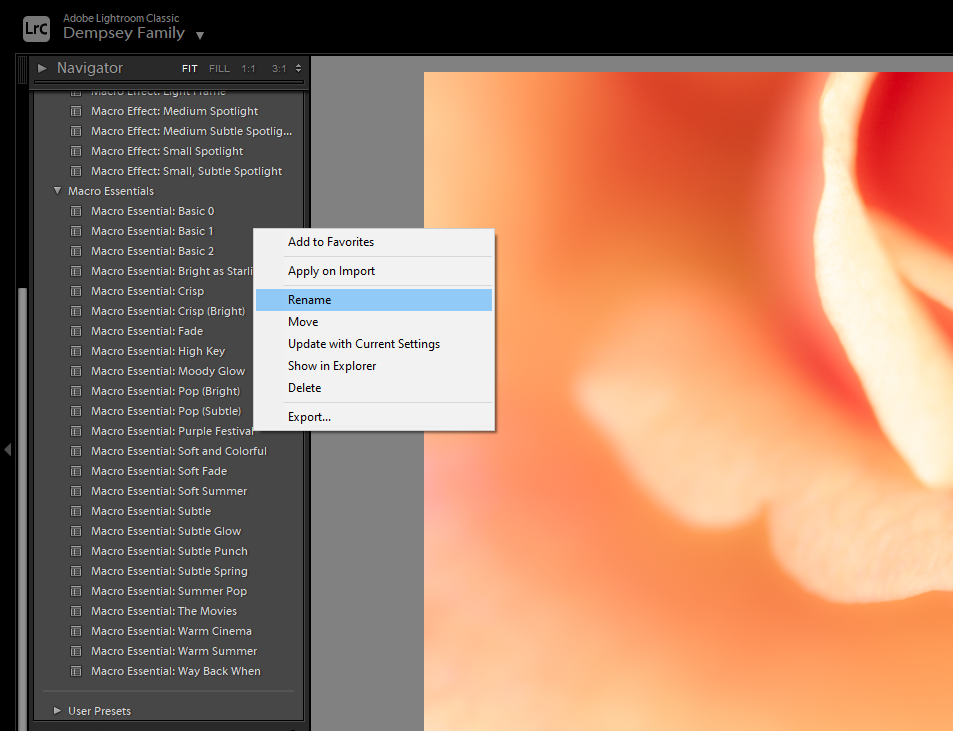
Image: Jaymes Dempsey
Colour grading with the help of presets
If you don’t want to indulge yourself in such a difficult task of colour grading, installing some third-party preset would be a great option. There are several websites on the internet that you can use to download the presets. Some of them are free while the others are paid, it depends on your demands which one to use.
You should keep in mind that different photographs have different light situations. So, use the presets accordingly to get the best results.
Photographers! Earn a $200 Sign up Bonus... |
|---|
Interested? Sign-up here(more details) |
Final thoughts
This article has given you a complete answer to your question of what is colour grading. There are a variety of features and tools that you can use in photography.
However, you should keep in mind that it is the experience that gives you an idea about the best usage of those tools.
About the Author
Emma Taylor is an Australian blogger and photographer, who lives in Melbourne with her two cats, where she frequents live theatre and wine bars.


